Running a Node.js application on your hosting account is easy using the Node.js Selector available in DirectAdmin. This guide will walk you through the steps to upload your application, configure it, and make it accessible through your domain.
Before You Begin
Make sure you have the following:
-
An active hosting account with DirectAdmin access
-
A domain or subdomain pointing to your hosting account
-
Your Node.js application files
-
A valid
package.jsonfile in your application
Step 1: Log in to DirectAdmin
-
Log in to your DirectAdmin control panel.
-
Navigate to:
Extra Features → Node.js Selector
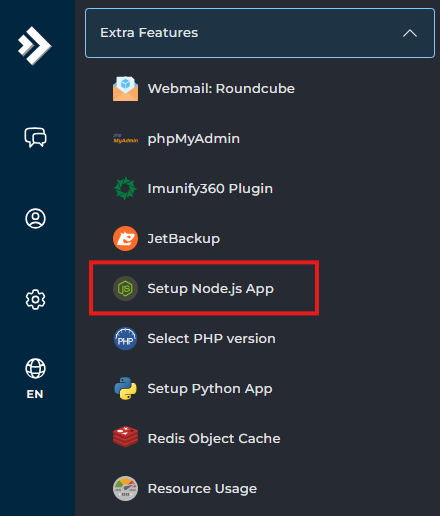
This is where you will create and manage your Node.js applications.
Step 2: Create a New Node.js Application
-
Click Create Application.
-
Fill in the following details:
| Setting | Description |
| Node.js Version | Select the Node.js version required for your app |
| Application Mode | Choose Production or Development |
| Application Root | Folder where your Node.js app files will be stored |
| Application URL | Domain or subdomain where your app will run |
| Application Startup File | The main file that starts your app (e.g., app.js, server.js, index.js) |
-
Click Create.
Your Node.js application environment will now be created.
Step 3: Upload Your Application Files
After creating the application:
-
Go to System Info & Files → File Manager.
-
Navigate to the Application Root directory you selected earlier.
-
Upload your Node.js project files.
Step 4: Install Application Dependencies
Once your files are uploaded:
-
Go back to Node.js Selector.
-
Locate your application.
-
Click Run NPM Install.
This will install all dependencies listed in your package.json file.
Step 5: Start the Application
-
In Node.js Selector, find your application.
-
Click Start App.
Your Node.js application should now be running.
